Understanding Webflow CMS Collections
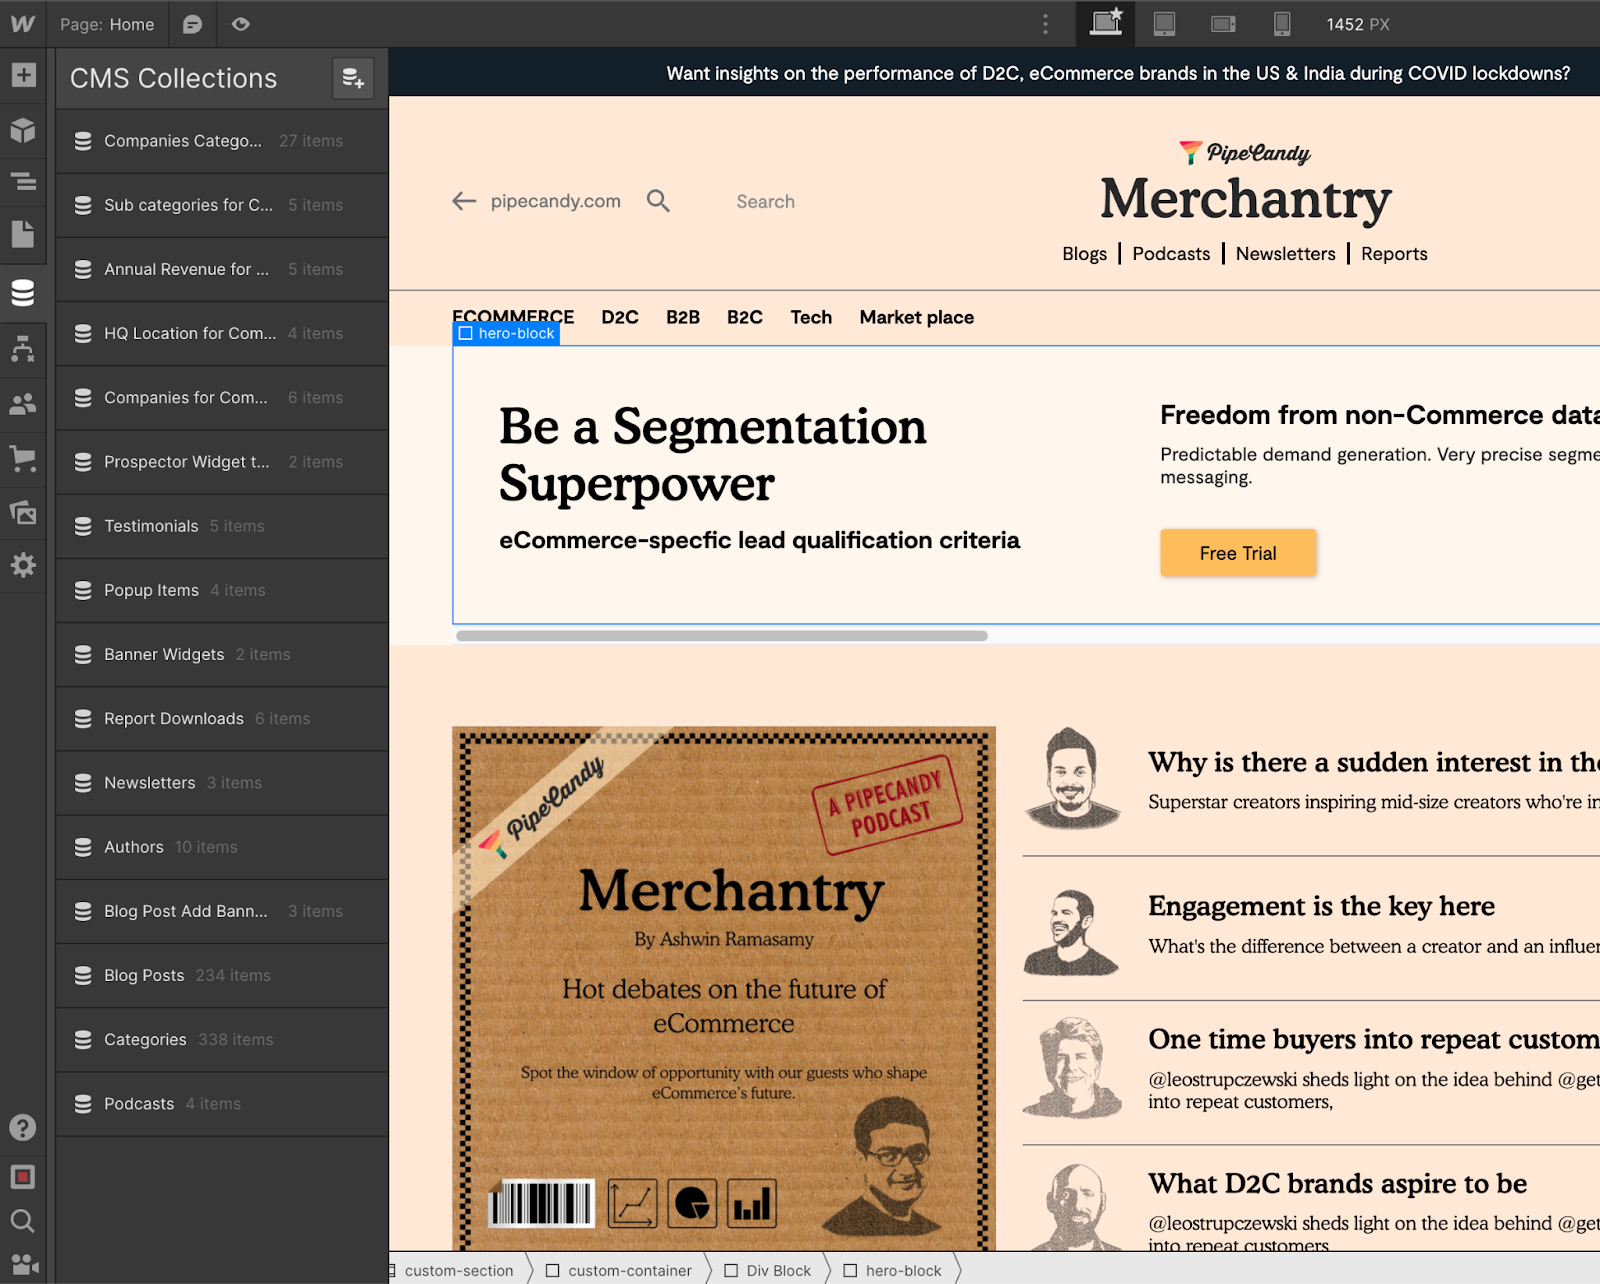
Let's start with the basics. What are Webflow CMS Collections? In essence, they're content containers that hold similar types of data. Think of them like digital file cabinets, neatly organizing your content. Your Collections can house anything from blog posts to product listings, all in a structured format.

Now, onto the functionality. Collections are designed to be highly customizable, allowing you to define the fields, relationships, and display settings that best suit your content. Each Collection becomes a template that automatically generates new pages for each item you add. That's right, no more manual page creation! Webflow CMS Collections handle it all, streamlining your website design and management process.
So, what are the benefits of using Collections in your website design and management? For starters, they make it easier to manage and update your content. Collections also enable you to create dynamic, responsive designs that adapt to the content they display. And let's not forget the time-saving aspect. With Collections, you can quickly create consistent designs, freeing up valuable time for other essential tasks. In short, Collections are an indispensable tool for modern website design and management.
Basic Filtering and Sorting in Webflow CMS Collections
Let's talk about basic filtering and sorting. These features help you organize and display your content based on specific criteria. For example, you can filter blog posts by author, or sort products by price. Handy, right?
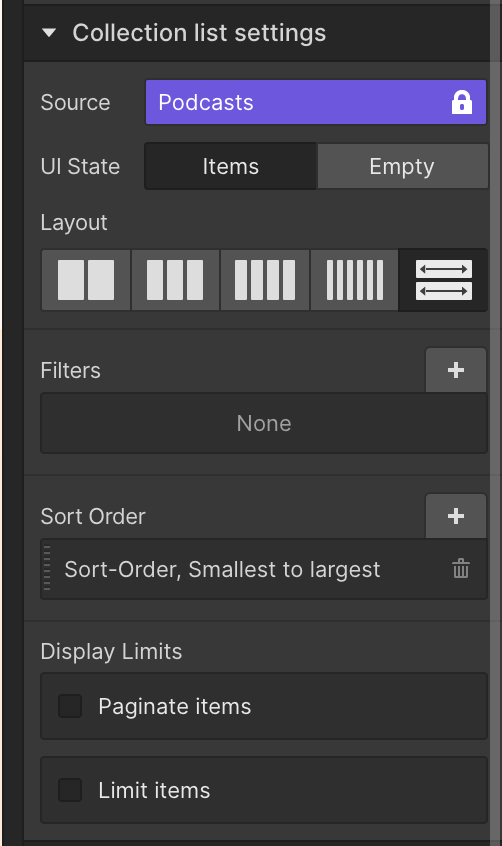
To use basic filtering and sorting in Webflow CMS Collections, simply navigate to the Collection settings and select the "Filter" or "Sort" option. Here, you can choose the criteria you want to apply and set the display order. It's that easy!

For instance, if you want to display blog posts from a specific author, select the "Author" field, choose "Equals" as the filter condition, and then enter the author's name. If you'd like to sort products by price, select the "Price" field and choose "Lowest to Highest" or "Highest to Lowest" as the sorting option.

While basic filtering and sorting can be quite useful, there are some limitations. For one, you can only filter based on a single criterion. Additionally, basic sorting options are relatively simple and may not cover all your organizational needs. This is where advanced filtering and sorting come in, offering a more powerful and flexible approach to managing your Webflow CMS Collections.
Advanced Filtering Techniques for Webflow CMS Collections
Ready to level up your filtering game? Advanced filtering tools and options provide you with more control and flexibility when organizing your content. With these techniques, you can filter based on multiple criteria, create conditional filters, and even use complex logic to fine-tune your content display.
Here's a step-by-step guide to implementing advanced filters in your Webflow CMS Collections:
- Start by navigating to the Collection settings and selecting the "Filter" option.
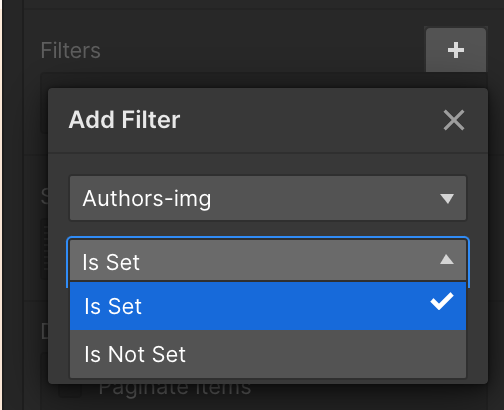
- Click the "Add Filter" button to add multiple filter criteria. For example, you can filter blog posts by both author and category.
- Choose the desired filter conditions for each criterion. You can select options like "Equals," "Not Equals," "Contains," and more.
- If needed, use the "And" or "Or" buttons to create conditional filters. This allows you to combine multiple criteria using logical operators. For example, you can display blog posts that are written by a specific author AND belong to a particular category.
- Once you've set up your advanced filters, click "Save" to apply them to your Collection.
Now let's look at some examples of advanced filtering use cases:
- Filter products by price range AND availability – Display only products within a specific price range that are also in stock.
- Filter blog posts by multiple categories OR tags – Display blog posts that belong to either one of several selected categories or contain specific tags.
- Filter events by date range AND location – Display events taking place within a specified date range and in a certain location.
With advanced filtering techniques, the sky's the limit when it comes to organizing and displaying your Webflow CMS Collection content.
Advanced Sorting Techniques for Webflow CMS Collections
If advanced filtering is the appetizer, advanced sorting is the main course. These powerful tools and options give you even more control over the organization and display of your Collection content. With advanced sorting, you can create custom sorting rules, mix and match multiple sorting criteria, and prioritize your content based on complex logic.
Here's a step-by-step guide to implementing advanced sorting techniques in your Webflow CMS Collections:
- Navigate to the Collection settings and select the "Sort" option.
- Click the "Add Sort" button to set up multiple sorting criteria. For example, you can sort blog posts by date and then by author.
- Choose the desired sorting order for each criterion. You can select options like "Lowest to Highest," "Highest to Lowest," "A to Z," and "Z to A."
- If needed, use the "Move Up" and "Move Down" buttons to change the priority of each sorting criterion. This allows you to fine-tune the display order of your content.
- Once you've set up your advanced sorting rules, click "Save" to apply them to your Collection.
Now, let's explore some examples of advanced sorting use cases:
- Sort products by category, then by price – Display products grouped by category, with each category sorted by price from lowest to highest.
- Sort blog posts by date, then by author – Display blog posts in chronological order, with posts from the same date further sorted alphabetically by author.
- Sort events by location, then by date – Display events grouped by location, with each location's events sorted by date from earliest to latest.
With advanced sorting techniques at your disposal, you can create a highly organized and user-friendly display for your Webflow CMS Collection content.
Tips and Best Practices for Utilizing Advanced Filtering and Sorting
Now that you're familiar with advanced filtering and sorting techniques, let's talk about some best practices to help you make the most of these powerful tools. Planning, organization, and optimization are key to creating efficient and user-friendly Webflow CMS Collections.
First and foremost, take the time to plan and organize your content. Think about how you want your Collection items to be displayed, and consider the needs of your target audience. A well-structured Collection not only makes it easier for users to find relevant content but also streamlines the content management process.
Next, explore different ways to combine filtering and sorting techniques. Don't be afraid to get creative! By using advanced filtering and sorting in tandem, you can create highly customized content displays that cater to your unique requirements.
Finally, let's talk about optimization. Here are some tips to help you maximize Collection performance with advanced filtering and sorting:
- Keep your filtering and sorting criteria as simple as possible. The more complex the rules, the longer it may take for your Collection to load.
- Regularly review and update your filtering and sorting settings. As your content evolves, so should your organization strategies.
- Consider using pagination or lazy loading techniques to improve load times for large Collections with multiple sorting and filtering rules.
- Test your Collection on various devices and screen sizes to ensure a consistent user experience across different platforms.
With these tips and best practices in mind, you're well on your way to creating efficient and user-friendly Webflow CMS Collections using advanced filtering and sorting techniques. Happy organizing!
Conclusion
And there you have it! Advanced filtering and sorting techniques are game-changers when it comes to managing your Webflow CMS Collections. These powerful tools enable you to create highly organized and customized content displays that cater to your unique needs. From improved user experience to streamlined content management, the benefits of advanced filtering and sorting are clear.
So, what are you waiting for? Dive in and explore these advanced techniques to elevate your Webflow CMS Collections. As you implement these strategies, we're confident that you'll see a significant improvement in both your website's organization and overall performance.
We'd love to hear about your success stories and experiences with advanced filtering and sorting in Webflow CMS Collections. Feel free to share your insights and join the conversation as we continue to discover new ways to enhance and optimize our Webflow projects. Together, let's unlock the full potential of Webflow CMS Collections and create exceptional websites!


![AI Screening Recruiter Setup Guide [Starter Guide]](https://cdn.prod.website-files.com/68b716fbda7b786bb723ec2a/6968a878cb1cf07382e70d03_AI%20Screening%20Recruiter%20Setup%20Guide_1.png)

